How to Install a Minecraft Snapshot Release
Posted by Dals | 3 August 2026
Mojang tends to run all major updates to Minecraft through a snapshot system, allowing players to test the new additions to the game early, as well as fix bugs/issues before they push the patch to the main version of the game. Since this can take a while (sometimes months), you can always jump into the new features coming in an update by installing the snapshot/pre-release version and starting a world early!
Installing a Snapshot, Pre-Release, or Specific Version
While there are many third party launchers for Minecraft, we'll be focusing on steps for the default Minecraft launcher itself.
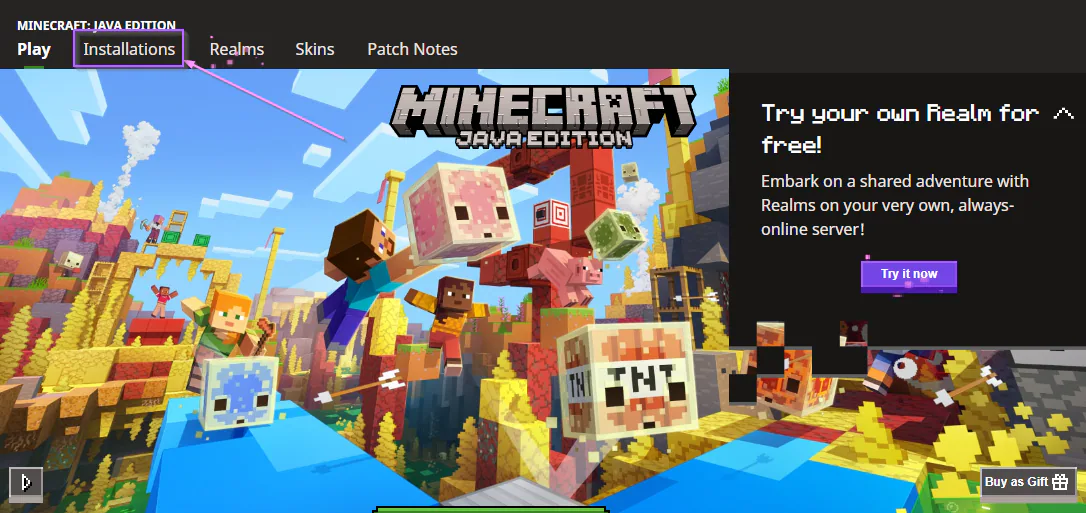
First, you will want to head to the Installations tab at the top of your launcher window, featured in the image below. This will be where you can find all the different versions of the game that you have installed.
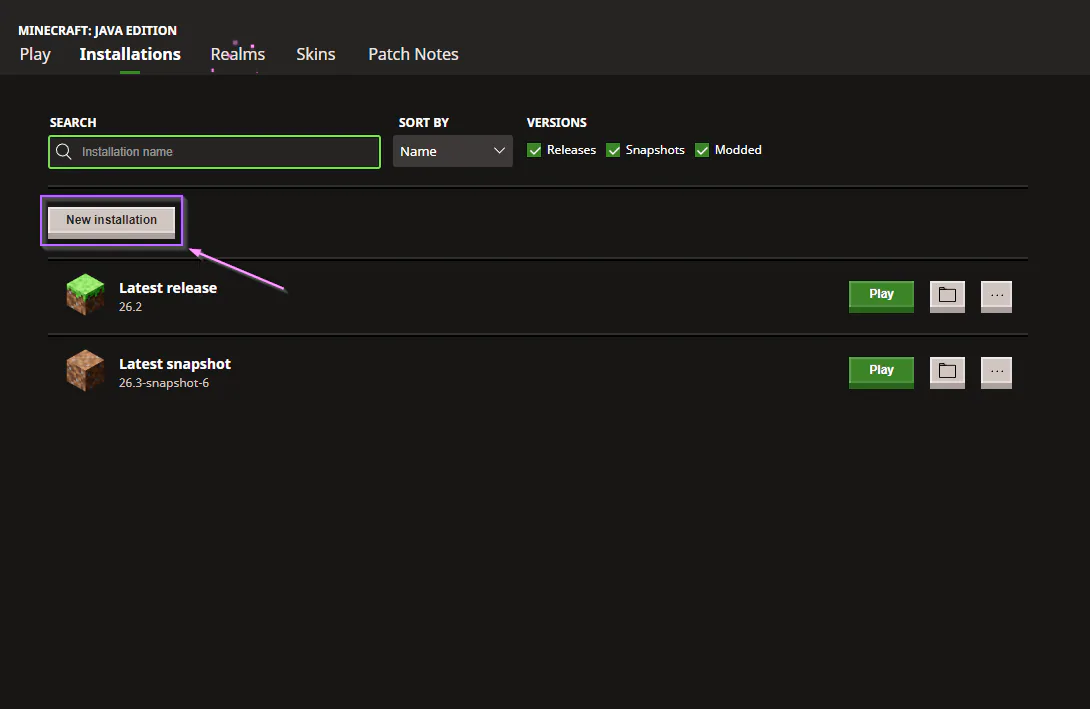
Once on your Installations tab, you should see something like the below image. By default, you will have access to the latest release of the game, as well as the latest snapshot. You can choose to just play the latest snapshot automatically from there if it's the one you're looking for!
We'll be helping to cover the process of manually installing specific snapshots or pre-release versions apart from the latest though. To start this, you'd want to select the New Installation button on your Installations tab.
NOTE: Be certain that you have Releases, Snapshots, and Modded selected under the Versions area at the top of the page, as featured below.
In the page that follows, you'll see a "Version" box. This is what lets you decide what version of the game you'd like to install. If you don't see snapshots or pre-release options in this dropdown, you may need to return to the main Installations tab and make sure you have the Snapshots option enabled at the top of the tab.
From there, you can select the snapshot, game version, pre-release, or any other option you would like to play on. Other fields on this page are optional, but it's recommended to set a Name for the Installation just to help you keep track of things better.
Once you have that selected, you can click the Install button at the bottom right of the page.
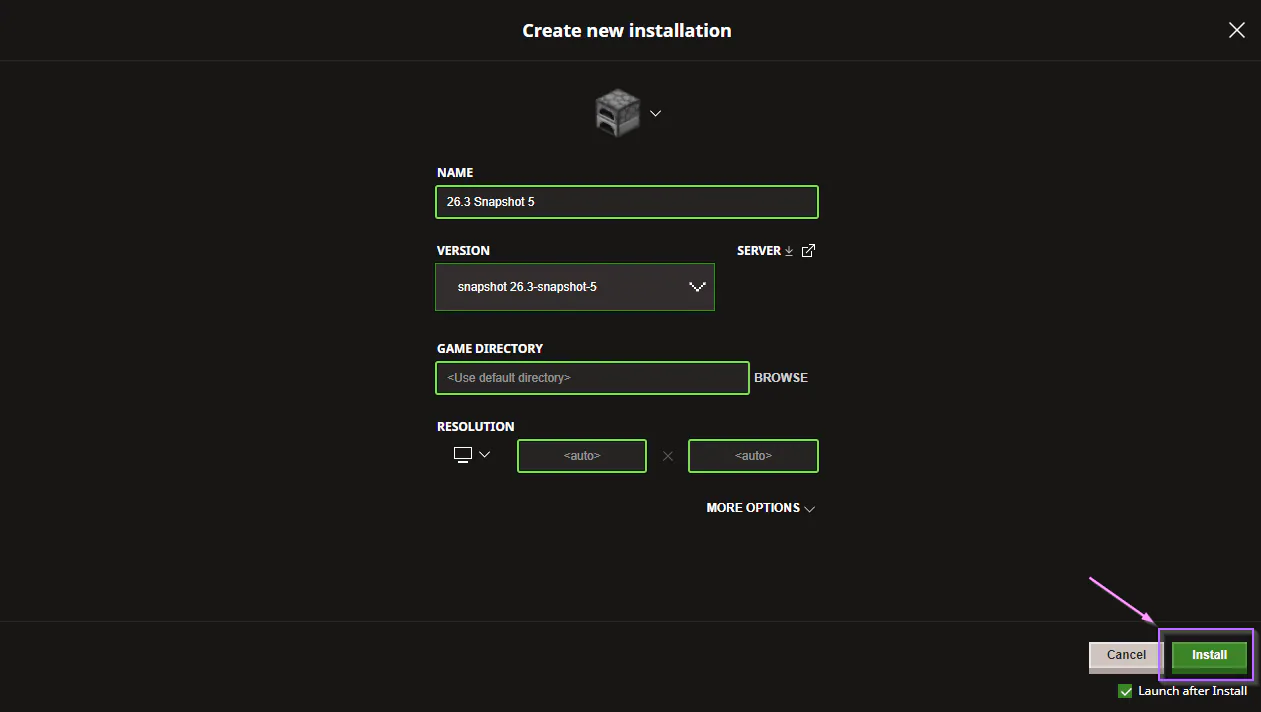
That's it! If you had the "Launch after Install" option enabled, like how it was in the screenshot above, your game should soon automatically start up so you can get straight to playing on the chosen version.
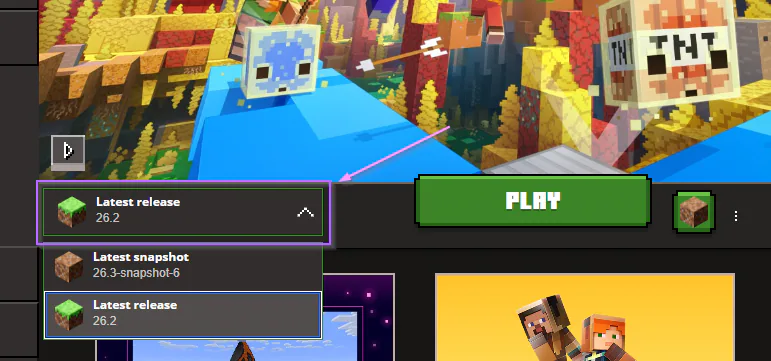
Otherwise, if you ever want to change which Installation you launch the game with (like if you want to go back to the main latest release of the game instead of a snapshot), you can use the dropdown to the left of the Play button on the main launcher menu:
Want to run your server on a specific version?
Kinetic Hosting makes this super easy with our custom server panel! We actually even have our own dedicated guide on the process that you can follow through in our knowledgebase.
Alternatively, you can follow along with our walkthrough video on installing a specific server version here:
If you run into any trouble or are missing the specific release you're looking for, our fully human support team is always around and more than happy to help!
Start Your Own Server
Looking for a game server? Get set up in a few moments. With our one-click installers and simple packages.
Related Posts
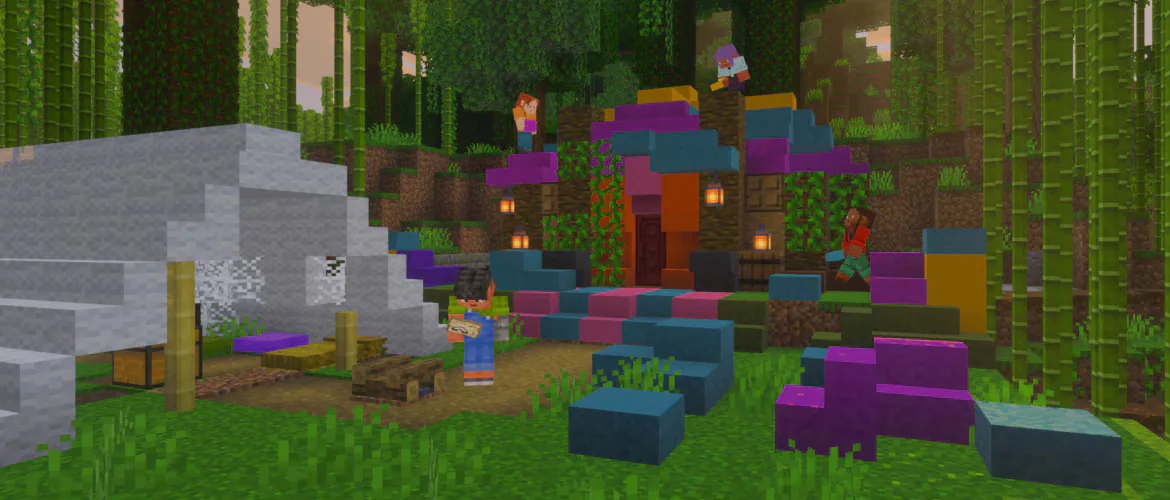
Minecraft 26.3 Release Date, Major Changes, & Patch Notes
Mojang recently shared a final testing post on the main features coming in the Minecraft 26.3 update. Come see all the changes to the game for the new update!
Dals11 August 2026
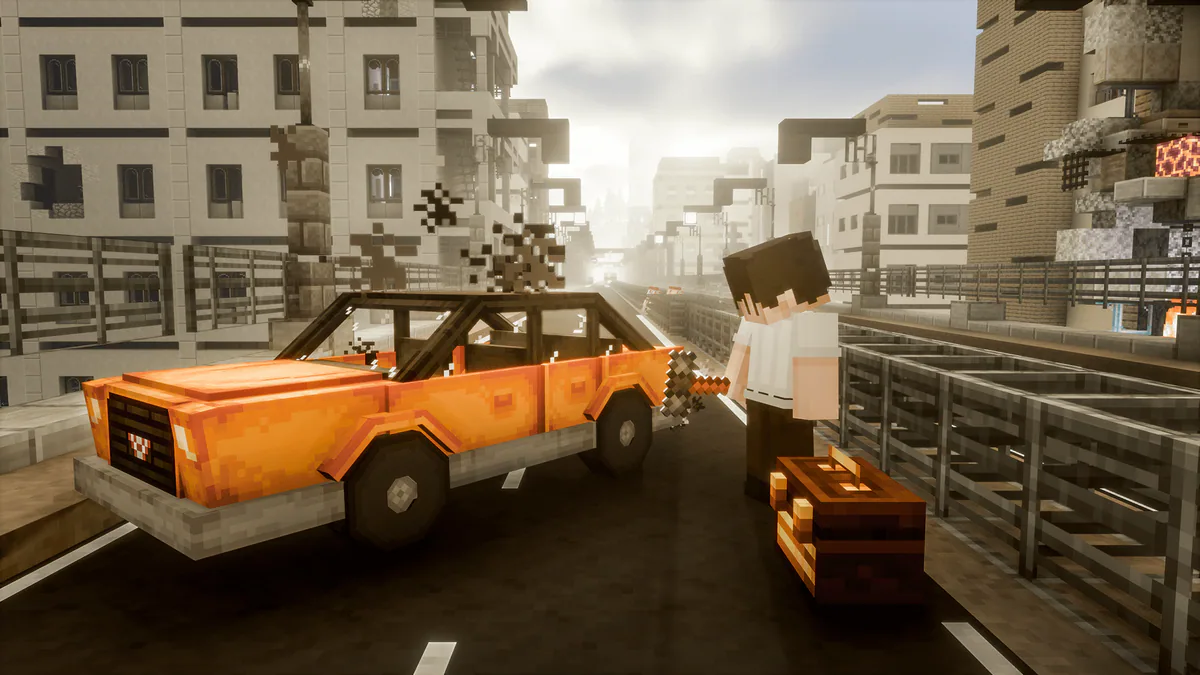
The Best Minecraft Modpacks for the 2 Week Minecraft Phase
We’ve all had the 2 week Minecraft phase, but sometimes it’s so difficult to find the right modpack to play, this guide should help you find the ideal one!
Cole13 March 2026
Curseforge vs Modrinth: Which is Better to Use?
Have you seen the named CurseForge and Modrinth thrown around, but not sure which Minecraft launcher is best? We'll help break down some core differences!
Dals24 August 2026
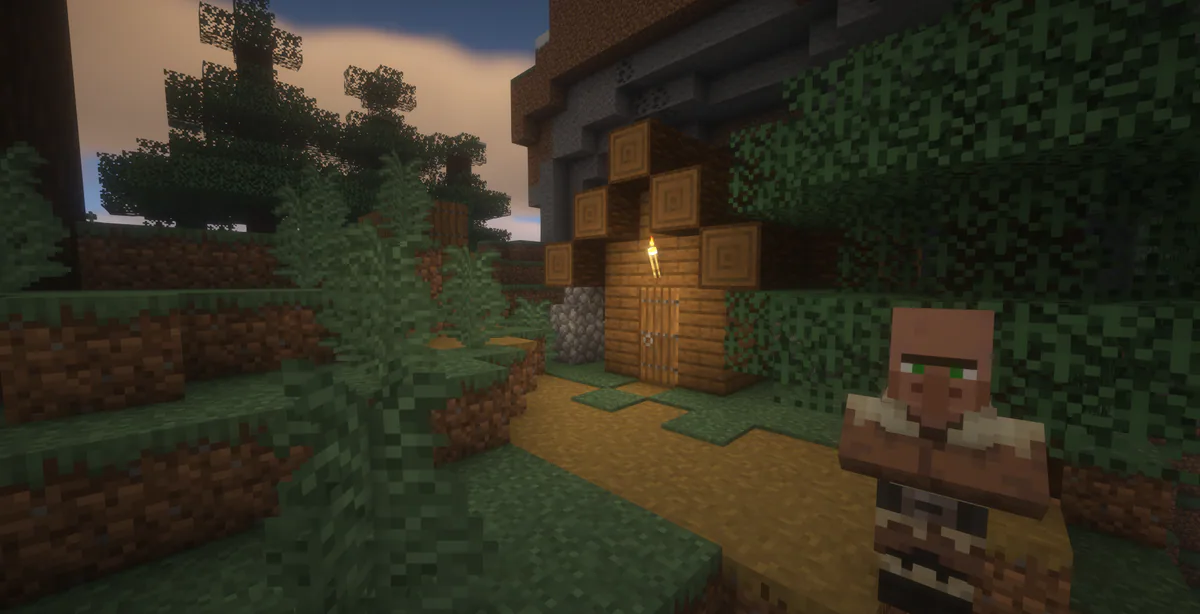
Top 5 Popular Shader Packs for Minecraft 26.2
We've compiled the top 5 most popular shader pack options for Minecraft 26.2 in 2026 to help you decide which is right for you, including image examples!
Dals6 August 2026
The Best Cobblemon Modpacks in 2026 Based on Playstyle
There are so many modpacks built around Cobblemon out there, and that list just continues to grow. Find out which is right for you based on your playstyle!
Dals15 July 2026

RAM, Minecraft, and Game Servers
One of the most common misconceptions we see with game servers, especially Minecraft, is that RAM is something you should try to save. In reality, servers will use RAM if it’s available, and that’s usually a good thing.
Chris4 January 2026