How to Install Custom Maps on a Killing Floor 2 Server
Last updated 23 Aug 2026
Need a game server?
Spin one up fast with our feature-rich panel and seriously low prices.
How to Install Custom Maps on a Killing Floor 2 Server
How to Install Custom Maps on a Killing Floor 2 Server
Go to the Killing Floor 2 Steam Workshop.
Find the desired custom map.
Copy the map's Workshop ID from its Steam Workshop URL.

For example, if the URL ends with:
?id=1234567890The Workshop ID is:
1234567890
Log in to the Kinetic Hosting Panel.
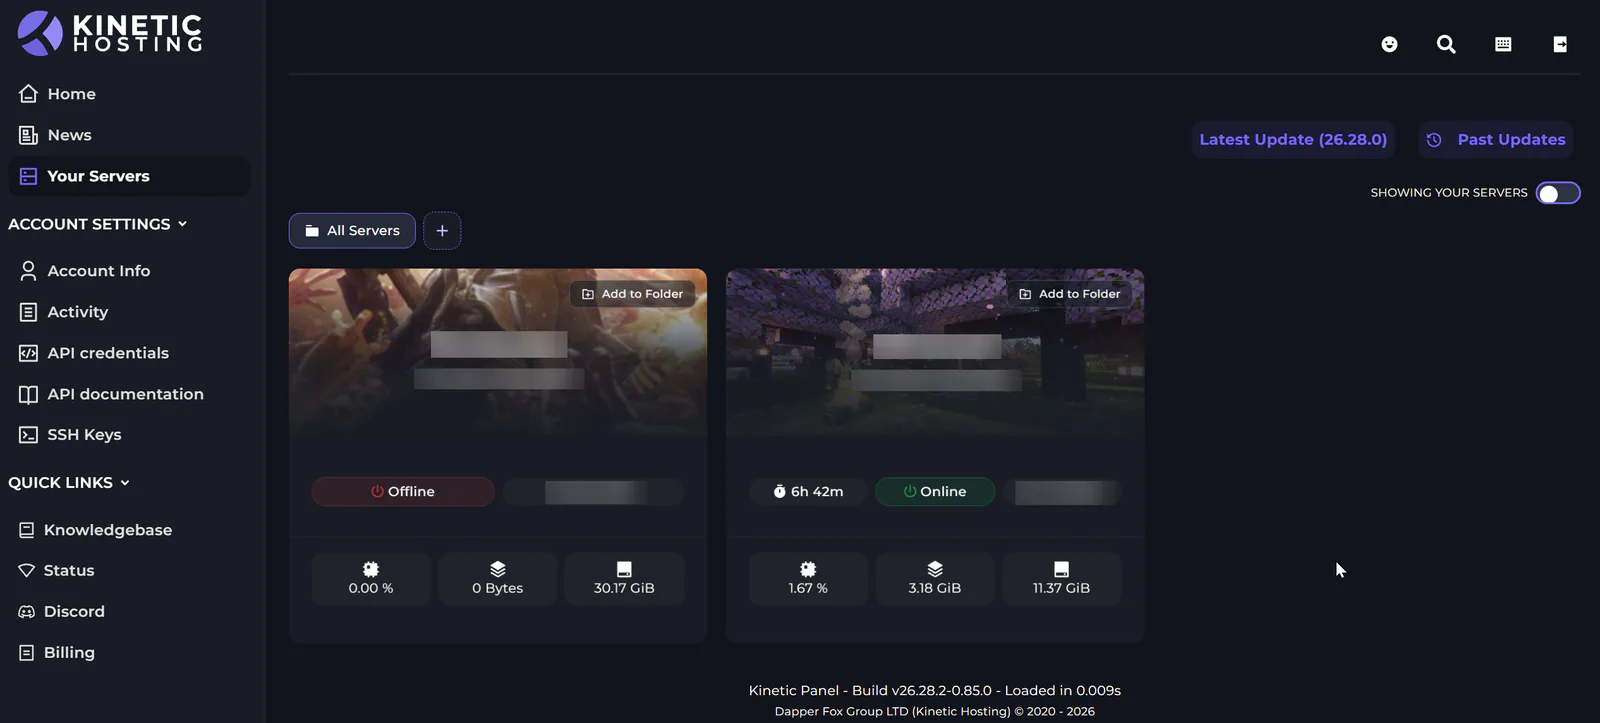
Select the Killing Floor 2 server.
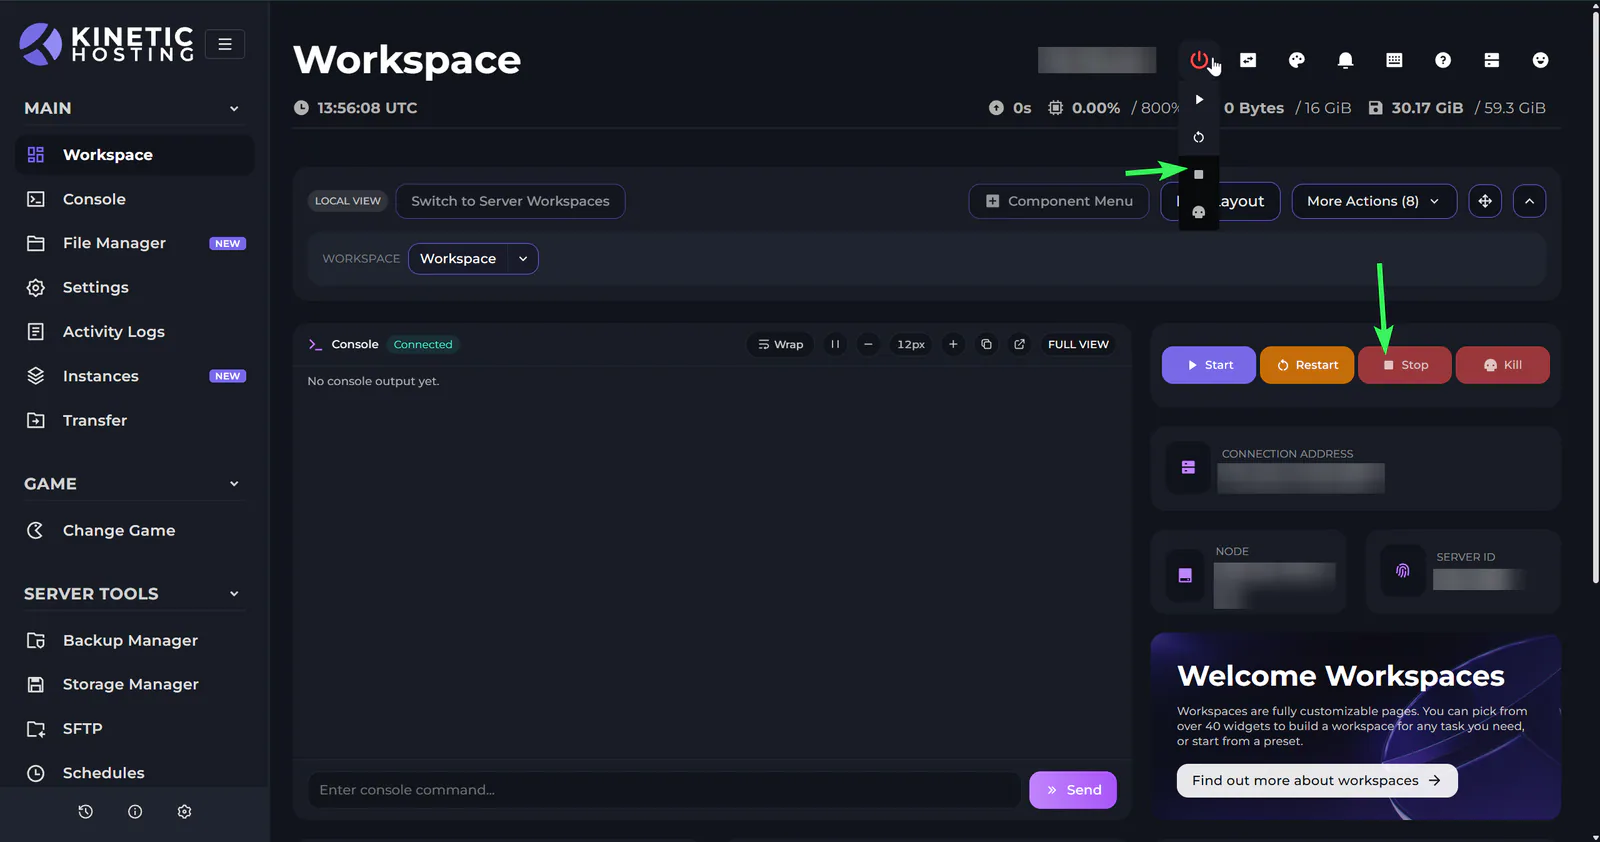
Stop the server.
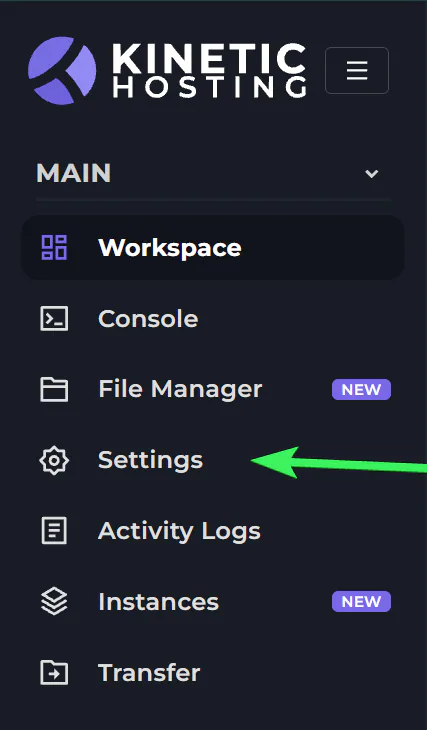
Go to Settings.
Find Map Workshop IDs.
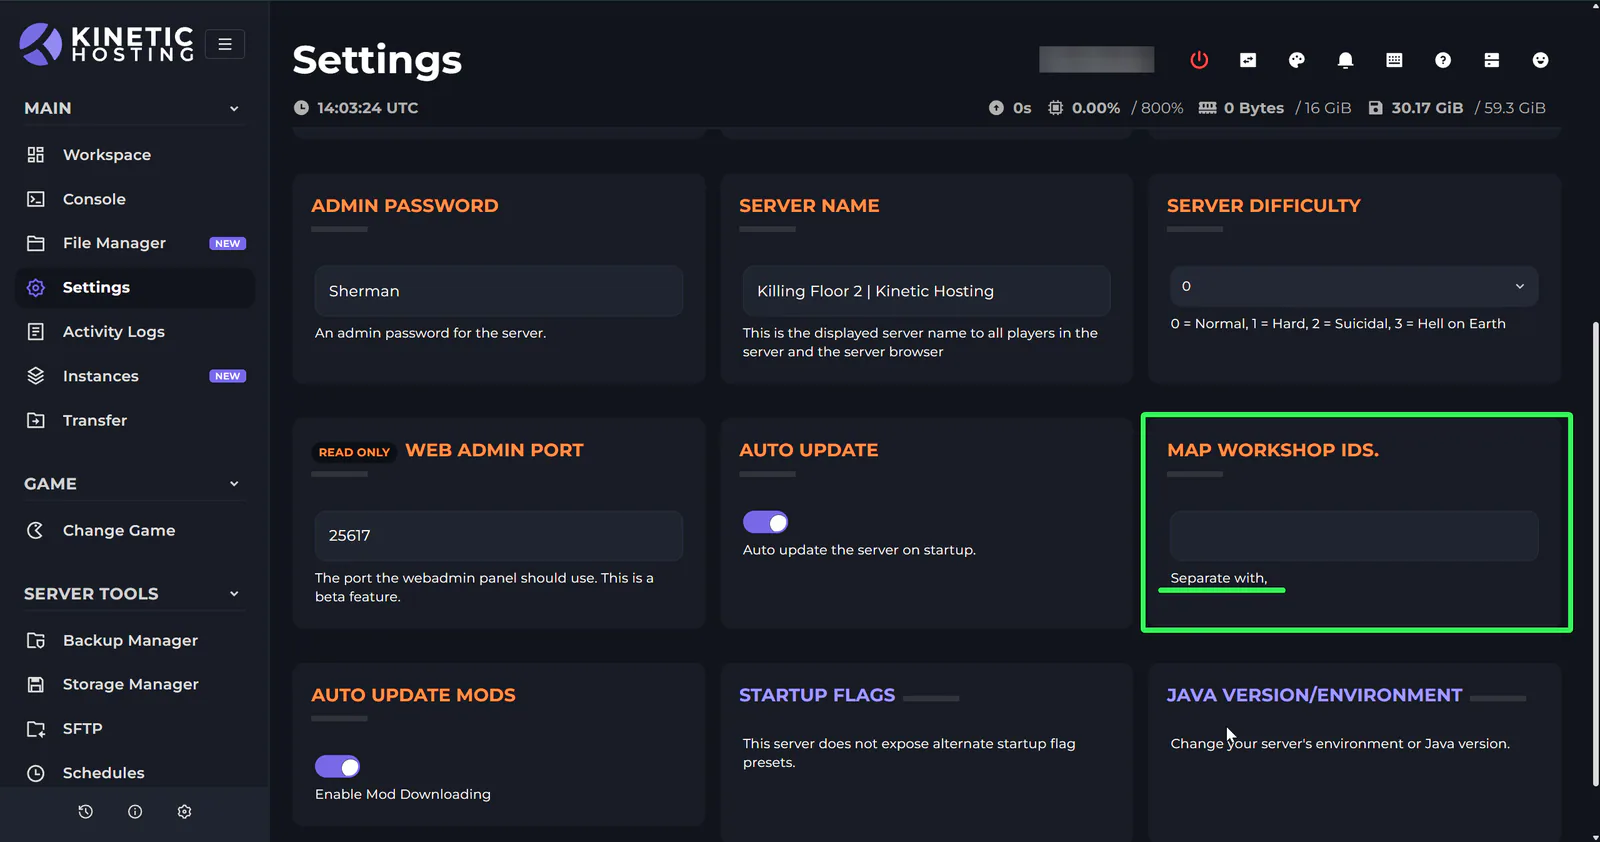
Enter the Workshop ID of each custom map.
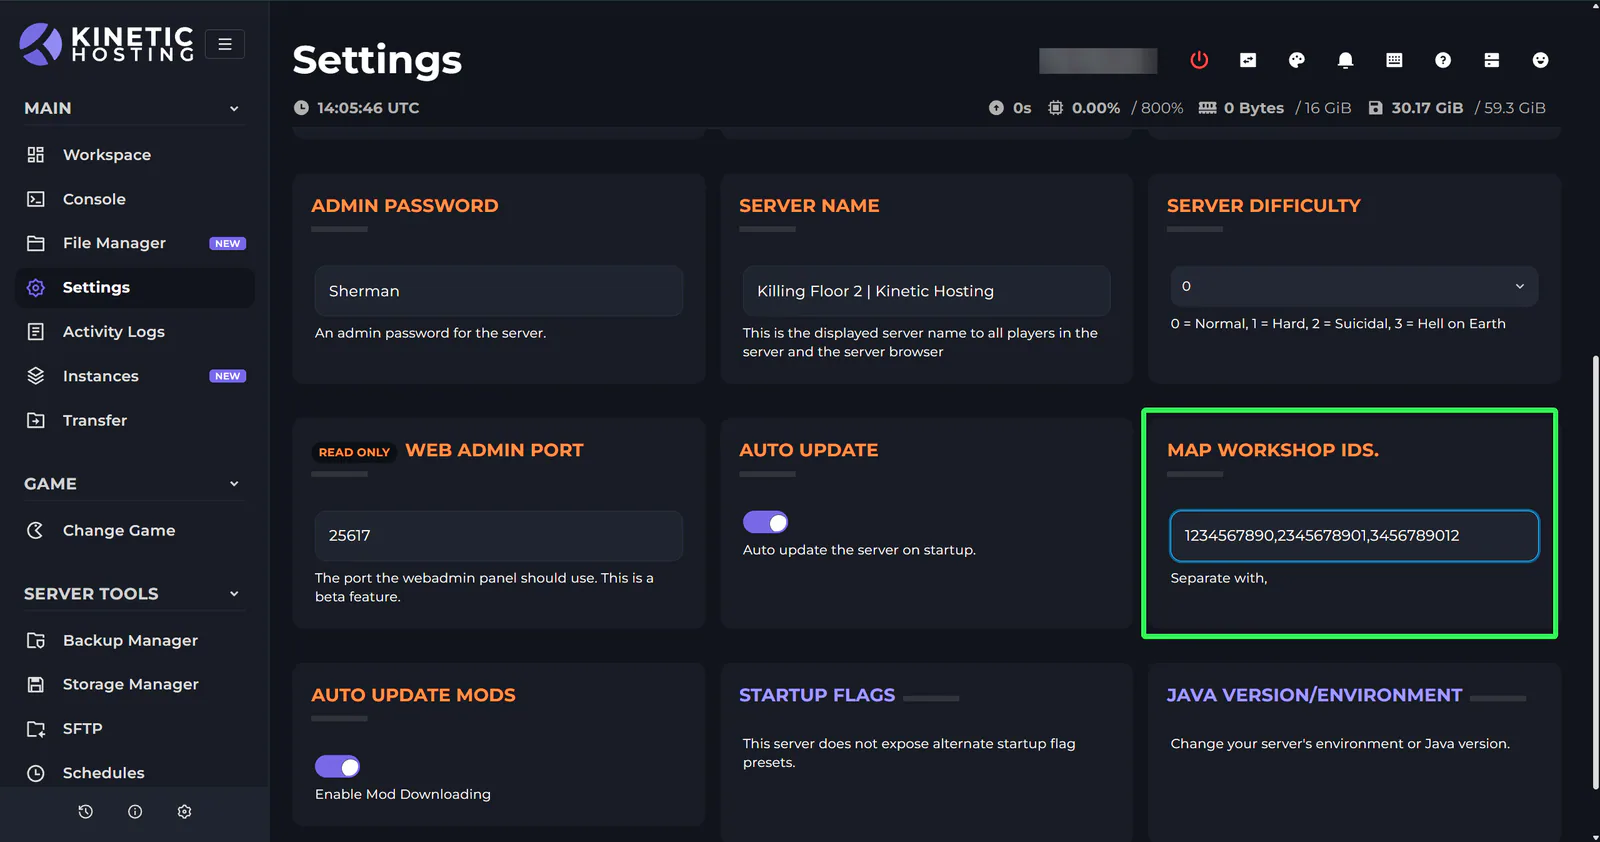
For multiple maps, separate each Workshop ID with a comma:
1234567890,2345678901,3456789012Start the server.
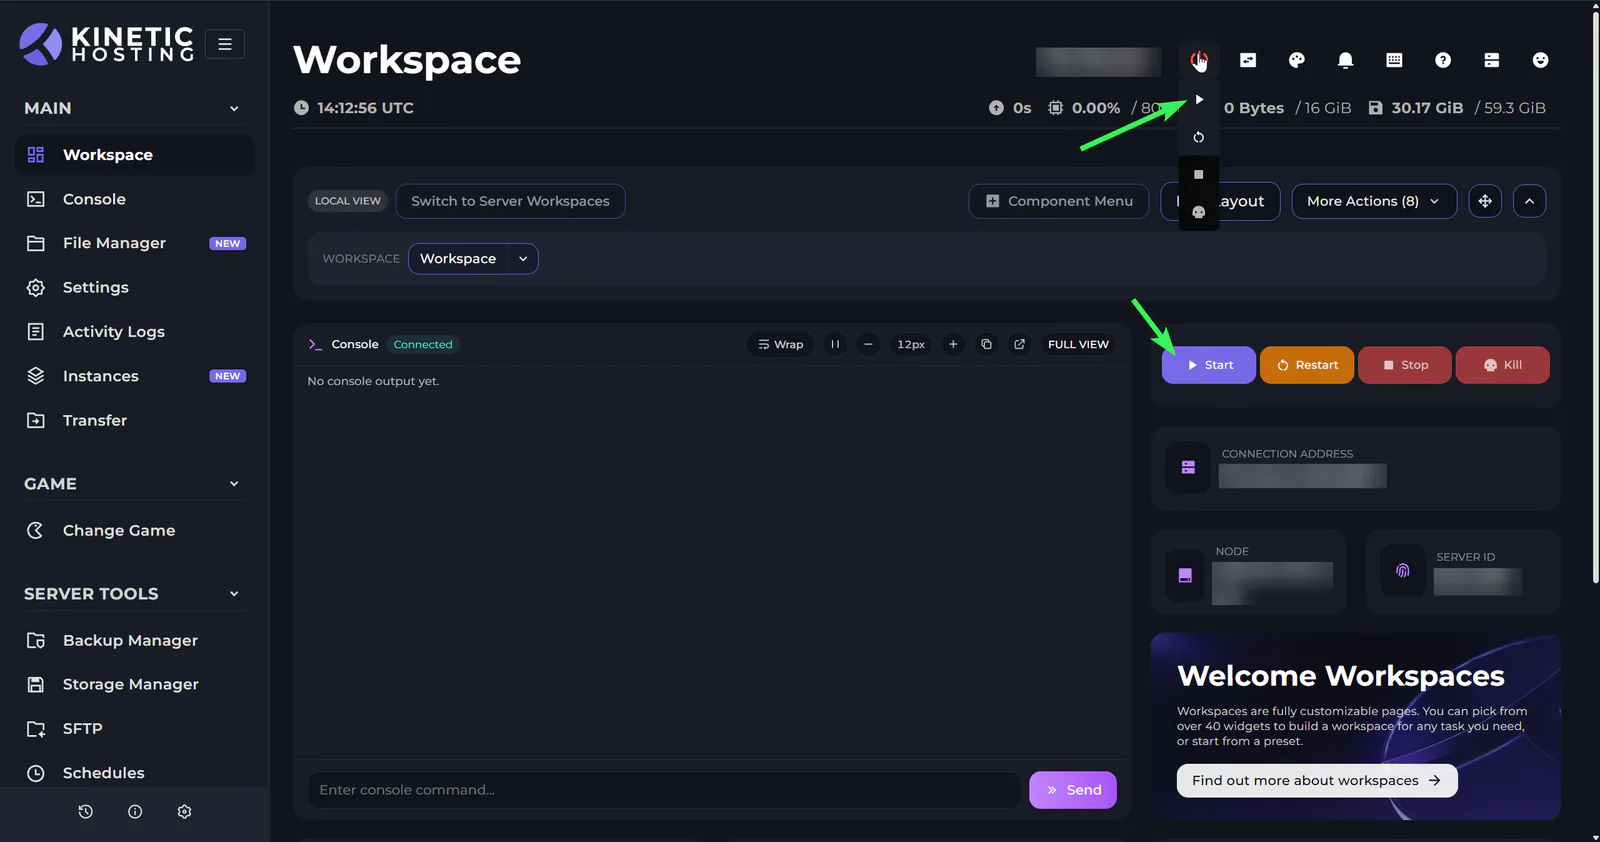
Wait for the server to finish downloading the custom maps before joining.
How to Add Custom Maps to the Map Cycle
After installing a custom map, it must be added to the server's map cycle before it will appear in the normal map rotation. This can be done directly through the server's configuration files.
Stop the Killing Floor 2 server.
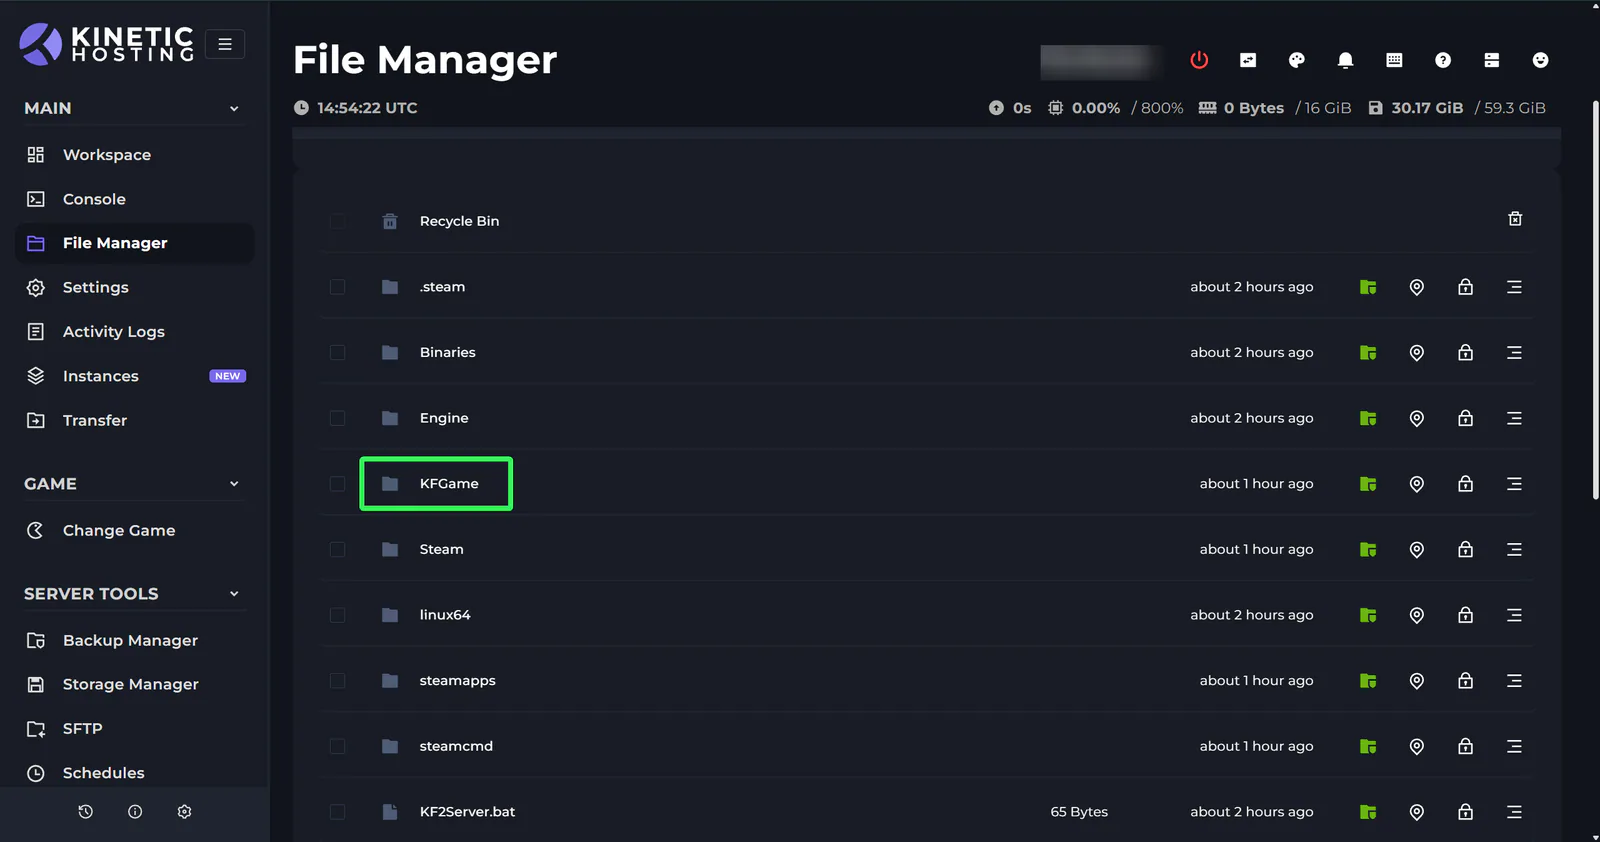
Go to the File Manager.
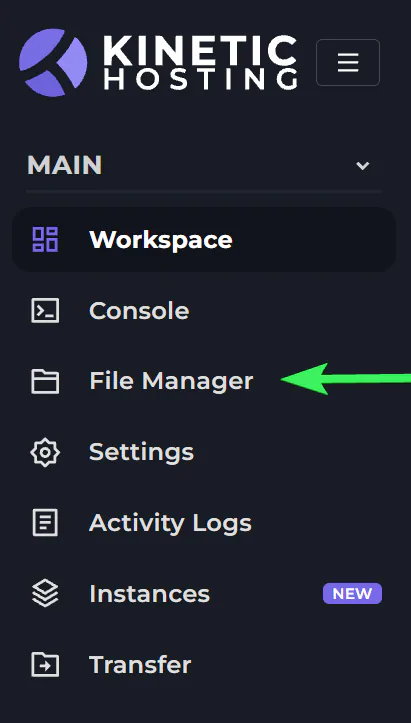
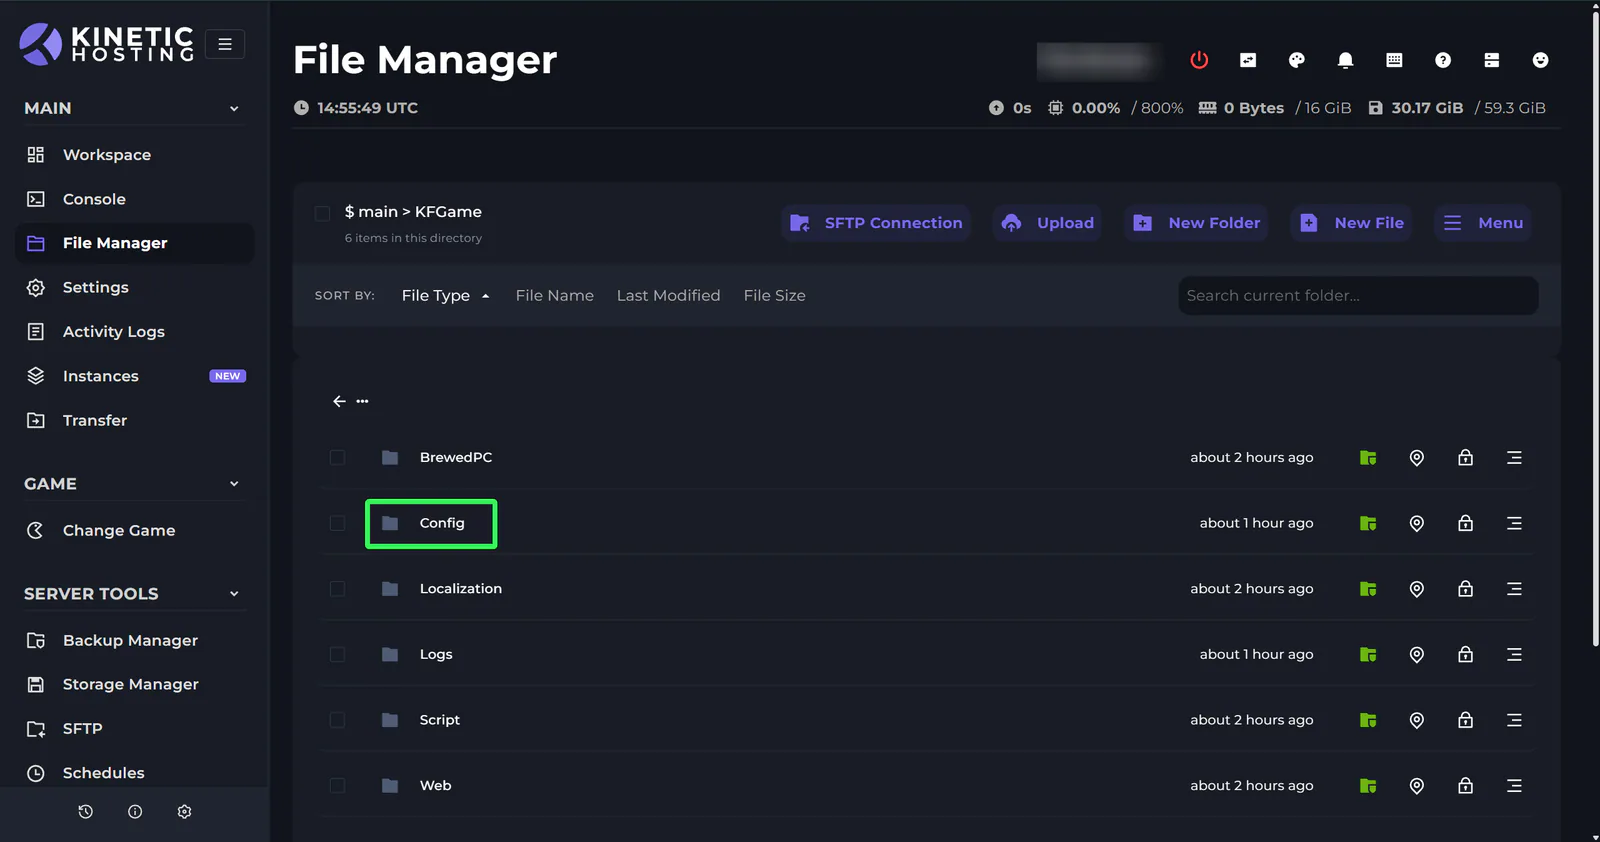
Open the KFGame folder, then the Config folder:
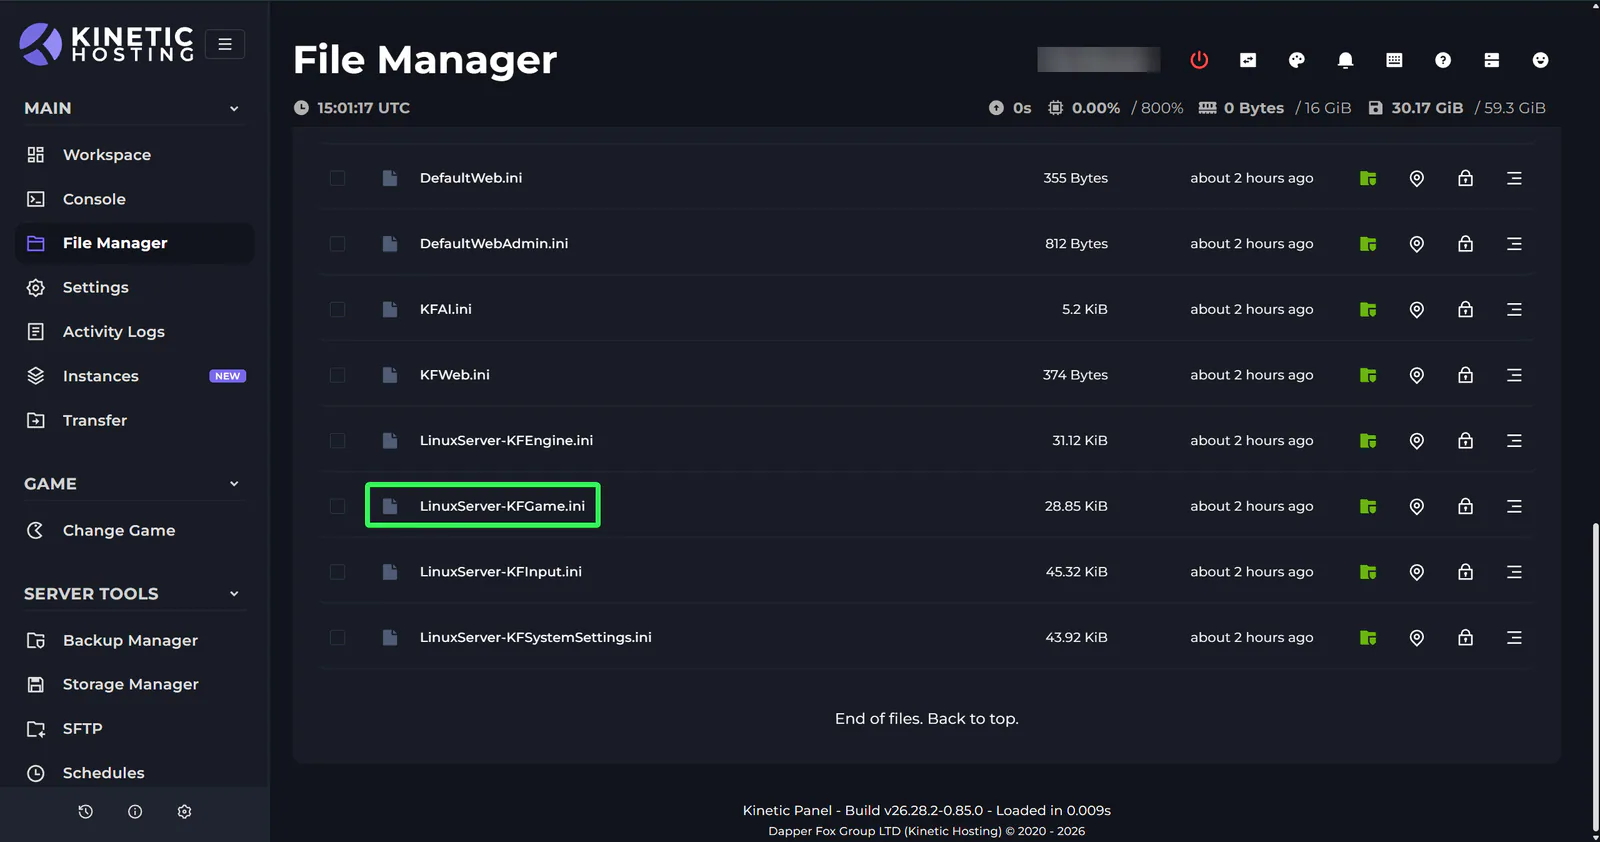
Open the LinuxServer-KFGame.ini file.
Find the GameMapCycles setting.
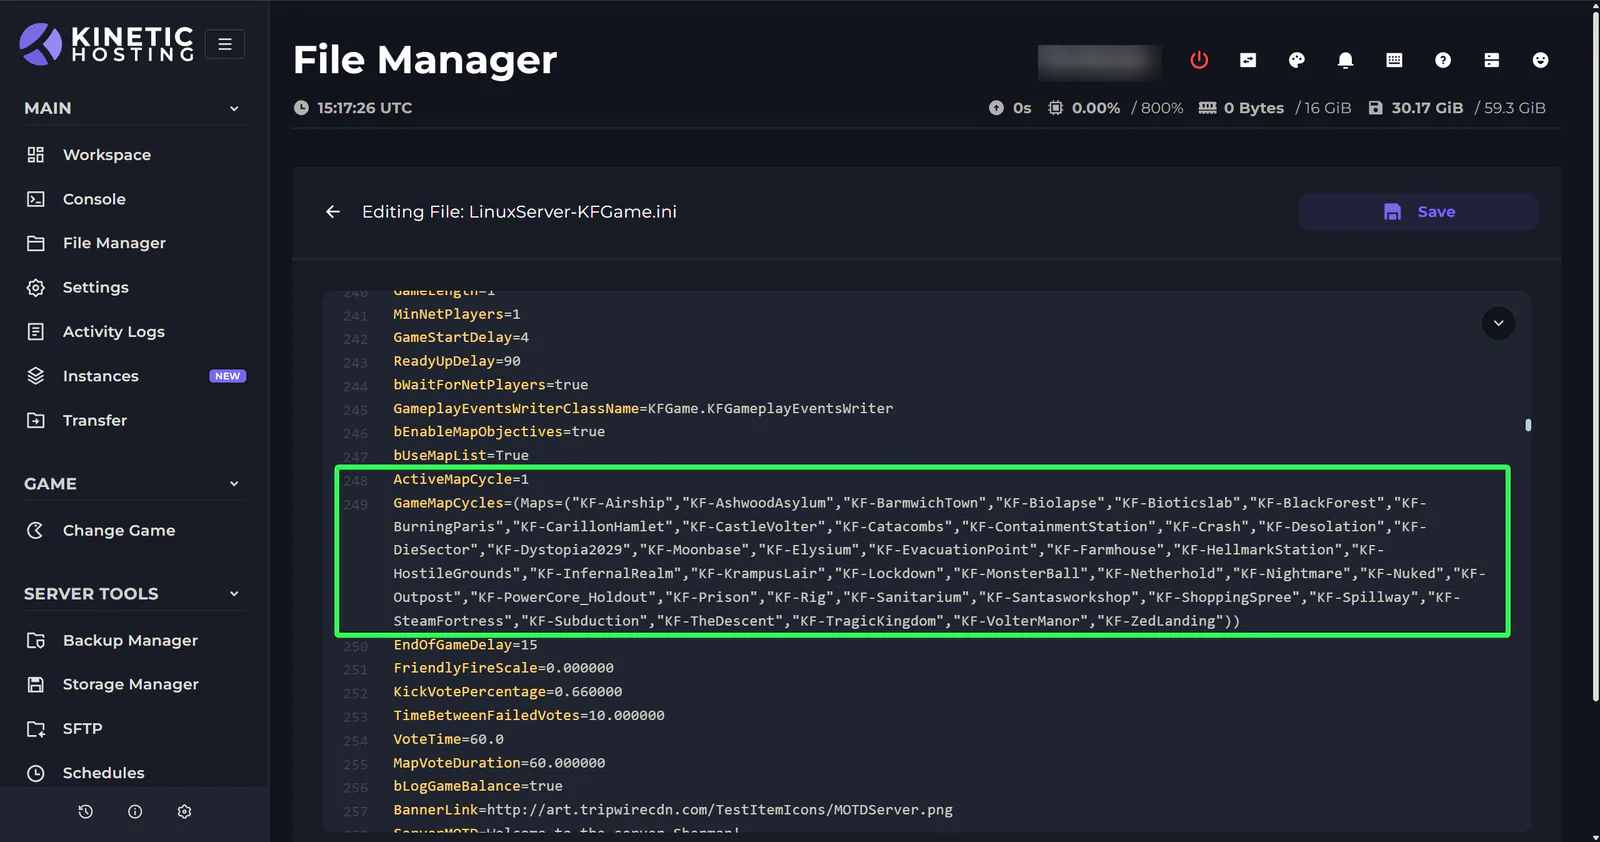
Make sure the map cycle is active (ActiveMapCycle=)
0 = off (default)
1 = active
add the custom map's name to the GameMapCycles list.
For example:
GameMapCycles=(Maps=("KF-BioticsLab","KF-BurningParis","KF-Outpost","KF-CustomMap"))
Repeat this for any additional custom maps you would like included in the rotation.
Save the file.

Start the server.
Optional: How to Add Custom Maps Using WebAdmin
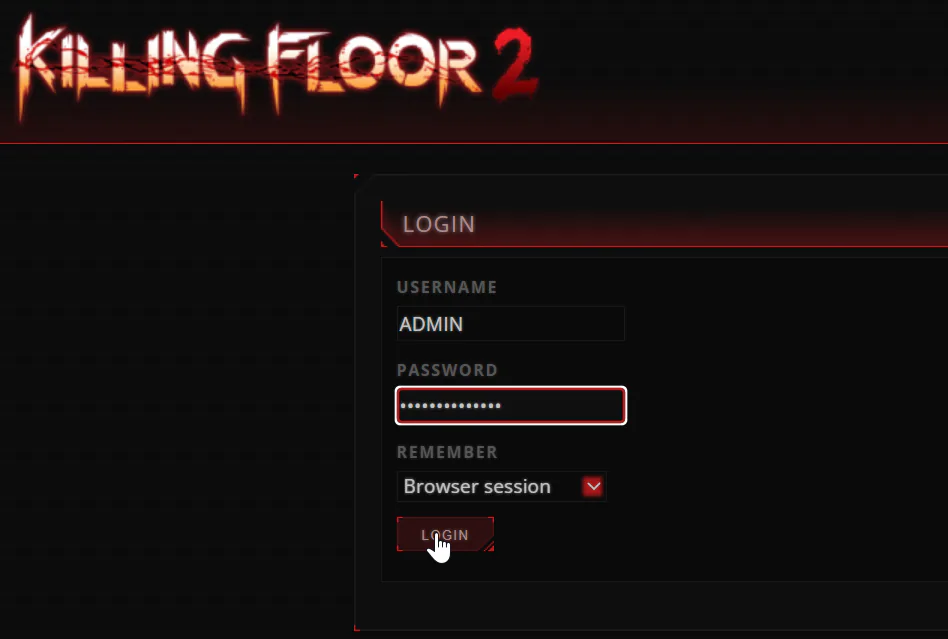
Custom maps can also be added to the map cycle through Killing Floor 2 WebAdmin. This provides a graphical alternative to manually editing the server's configuration files.
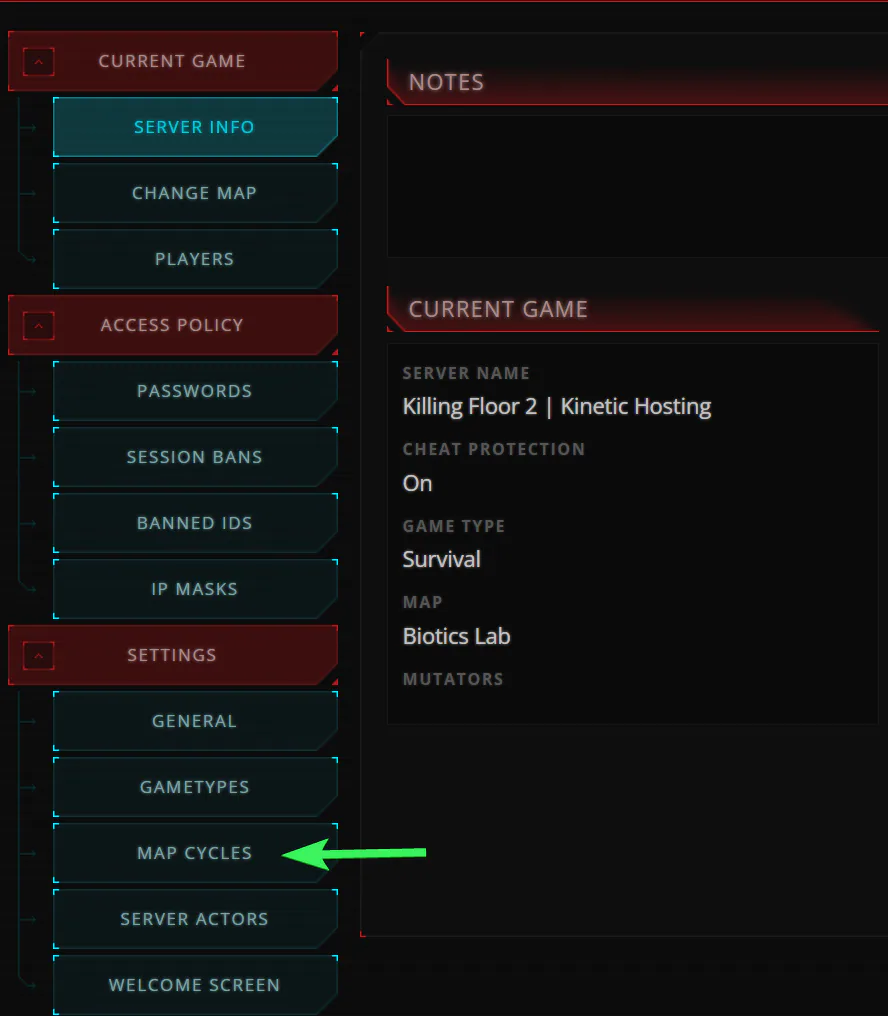
Select the Map Cycles tab.
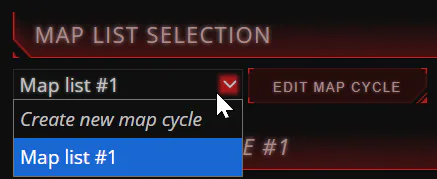
Select the active Map Cycle (only if you have multiple map cycles)
Click Manual Add.
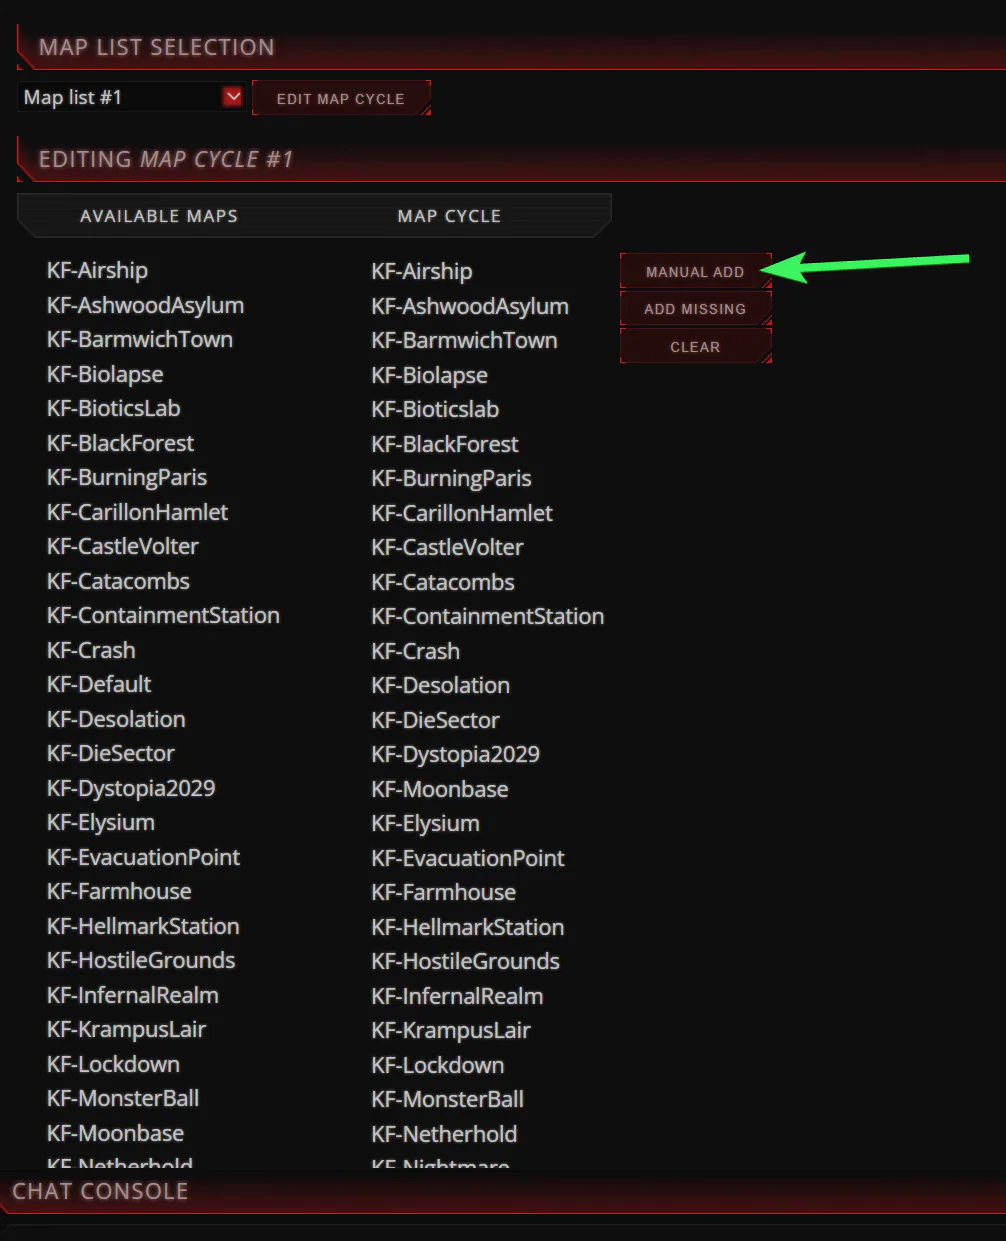
Enter the name of the custom map (note: the extension would be the file extension such as .kfm)
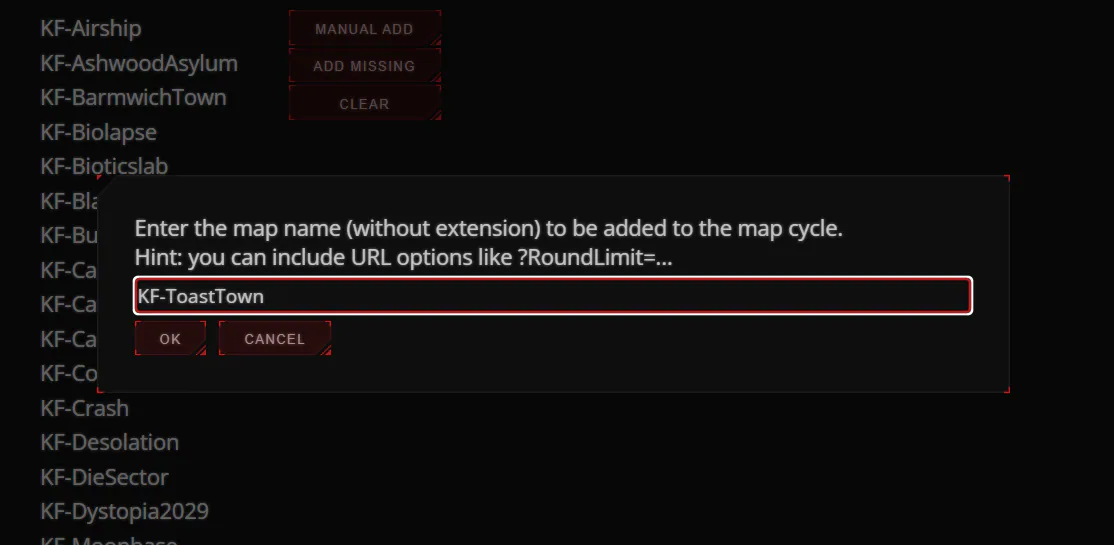
Click OK.
Repeat these steps for any additional custom maps you would like to add.
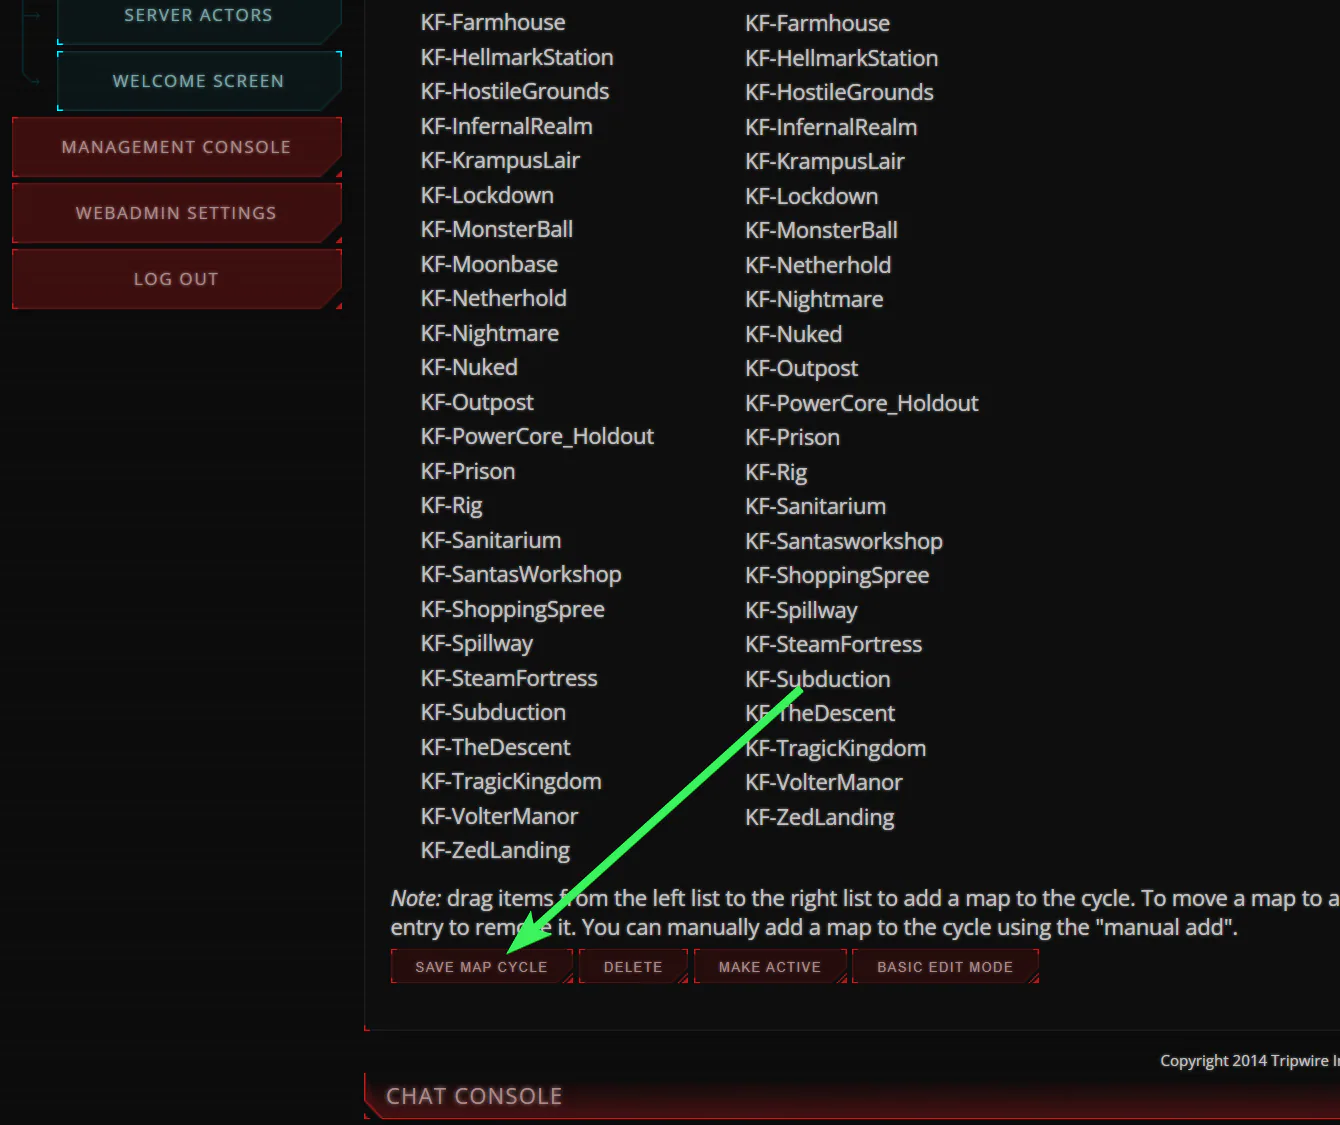
Click Save Map Cycle to save the changes.