How To Setup A Velocity Minecraft Proxy
Last updated 05 Feb 2026
Need a game server?
Spin one up fast with our feature-rich panel and seriously low prices.
Setting up the Proxy
Login to the Kinetic Panel
Stop your server by clicking the power button, then click the square icon.
-1767383729764.png)
In this case, you will need a Proxy server and two other servers that your Proxy will connect to; For example, a Hub and Minigames server.
First, you'll need to ensure that you have the correct proxy software installed. To do this, go to "Change game" on your game section.
-1770310994711.png)
In this Change Game menu, you'll be able to search "Velocity" or check the category for "Proxy software's". You'll then see Velocity Proxy on the right side, where you can install it.
-1768158115937.png)
-1768158143288.png)
After you've confirmed that you've installed the Velocity Proxy software on your server, you will need to go to your file manager menu.
-1770311095747.png)
In the file manager, you'll see a button on the top right of the screen where you can create files. You'll need to create a file.
-1768158224255.png)
When creating the file, you'll need to input the forwarding secret password that Velocity gave you. Once you've entered the password, click "Create file" on the top right.
noticeIf Velocity has not given you a password, you can create your own instead.-1768158261216.png)
When setting the name for the file, you'll need to name it "forwarding.secret". Then click "Create File"
-1768158292112.png)
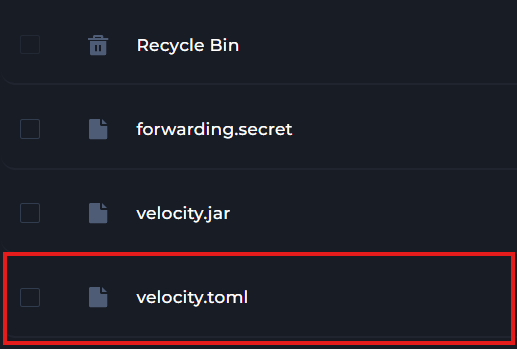
Once you've completed these steps, you'll then need to find and open your "velocity.toml" file. If the file appears to be empty for some unknown reason, you can open the file and input the text from this link.
In the velocity.toml file, scroll down till you find the "servers" line. Here, you can rename the IP's to what you like. For the purpose of this guide, we will be keeping them as default.
noticeIf you're not using a domain to connect your porxy, you'll need to remove the [forced-hosts] section from your velocity.toml file.


From there, you should be all set in the Velocity config.
Setting up the Individual Servers.
Now that you have the Velocity Configuration out of the way, we need to get your playable servers ready to go. You will be doing this for every server that you want connected to the proxy.
Stop your server by clicking the power button, then click the square icon.
Location and open your settings menu.
-1770311132720.png)
In the settings menu, click the "server properties" tab.
-1770311201615.png)
You'll then find a search bar. Here, you can search "online-mode", and switch the online mode value from "true", to "false".
-1768161266864.png)
Once you've made the change, click the "save" button on the top right of the screen.
-1767471924412.png)
Locate and open your file manager.
In the file manager, find and open your config folder.
-1768160681458.png)
In the config folder, you'll find a file called paper-global.yml. You'll need to open it.
-1768160763572.png)
In the paper-global.yml file, scroll down till you find the proxies category. You'll need to set velocity to enabled, and enter your forwarding secret password aswell.
-1768160981932.png)
Once you've made the changes, click "save" on the top right on the screen.

Troubleshooting
Make sure you are using the PROXY server connection address to connect.
If you are getting an error connecting to the proxy, head to the velocity.toml file & set the "player-info-forwarding-mode" to modern. This will sync your players UUIDs and IPs for the login process.
If you are experiencing issues with your proxy & need assistance please reach out to our 24/7/365 support team by Submitting a Ticket