How To Install Geyser On A minecraft Server
Last updated 05 Jan 2026
Need a game server?
Spin one up fast with our feature-rich panel and seriously low prices.
Getting Started
What Is Geyser?
Geyser allows cross play between Minecraft Java and Minecraft Bedrock on a single server, This guide will show you how to install geyser & how to use it. You will need to download Geyser and Floodgate.
Installing Geyser and floodgate via Quick Setup
Login to the Kinetic Panel
Stop your server by clicking the power button, then clicking the square icon.
-1767383729764.png)
Find and access "Quick Setup" on the left side of the panel.
-1770315533799.png)
In the quick setup menu, you'll be met with this screen.
Here, the menu will show you what version of Minecraft your server is running, as well as the loader. For this example, our server is running on Spigot for Minecraft 1.21.11.
On the right side of the screen, you'll see an option to install Geyser, where you will need to select which version you need, then click "Install"noticeIf you do not see any results in the "Detected Setup" area, it means you don't have any loader installed on your server. You will need to install Spigot or Paper in order for Geyser to be installed.-1767639052330.png)
Once the installation has complete, Geyser and Floodgate will be successfully installed and configured on your server, and all you need to do now is start your server, and have fun!
-1767462125511.png)
Installing Geyser Manually
Login to the Kinetic Panel
Stop your server by clicking the power button, then clicking the square icon.
Open your file manager on the left side of the panel.
-1770311095747.png)
Open your plugins folder within the file manager.
-1767636321627.png)
Upload your Geyser and Floodgate jar files into the plugins folder by either dragging and dropping them, or clicking the "Upload" icon on the top right, and selecting the files there.
-1767463079847.png)
-1767636491320.png)
After you've uploaded your files, you will need to start your server so that Geyser and Floodgate can download the required files onto your server.
Once the server has finished starting up, you will need to stop your server again. The same way you stopped the server before.
Go to "Network and Ports" on the left side of the panel.
-1770314405199.png)
Click "Open port" on the right side of the Network and Ports menu.
-1767636907514.png)
You will then see that a new port has opened, here, you will need to copy the port on the new allocation that was created.
-1767636932543.png)
Once you have the port copied, you will need to go back to your file manager.
Open your plugins folder once again, then open the "Geyser-spigot" folder.
noticeIf you do not see the Geyser-Spigot folder, it means that the server did not fully power on to generate the folders. You will need to turn the server on again.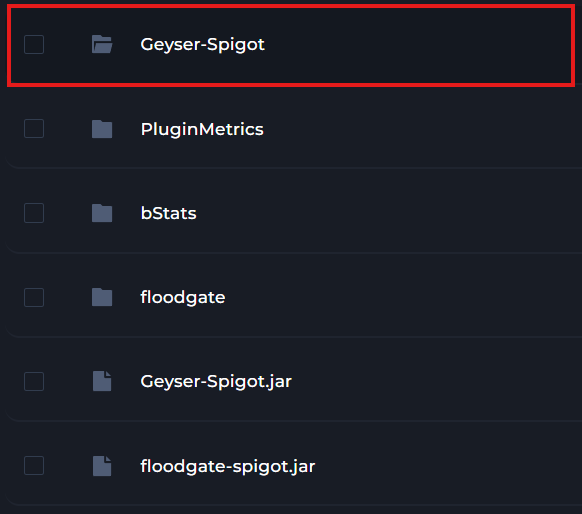
In the folder, you will find a config.yml file, you will need to open it.
Then, find the line that says "port", and change the number to the number you copied earlier from your Network and Ports" page.-1767637128326.png)
Once you've made that change, click "Save" , and then start your server.
-1767637211792.png)
Missing Skins
Sometimes, you might find that Bedrock skins are not showing on your server. If this is the case, you can add this plugin and mod to solve the issue. Your client will need to be running Fabric.
Download the Bedrock Skin Utility Mod. This will need to be on your client.
You will also need the Geyser Skin Manager Plugin to be installed in your Plugins folder.