How To install Simple Voice Chat
Last updated 22 Mar 2026
Need a game server?
Spin one up fast with our feature-rich panel and seriously low prices.
● Simple Voice chat can be downloaded from Curseforge or Modrinth
Installing Voice Chat using Modded
1 Login to the Kinetic Panel
2 Head to the File Manager.
-1770486606909.png)
3 Go to the Mods Folder.

4 Put the Simple Voice Chat jar you downloaded into the mods folder.
-1774200523719.png)
5 From there, you will start the server once so the correct Configuration file can generate for Simple Voice Chat. Once the server is fully online, power down the server.
-1767462125511.png)
6 Now, Head to the Network & Ports category on the Kinetic Panel
-1770314405199.png)
7 You will click on the Open Port Button.
-1767636907514.png)
8 You will now see the opened port, you can give this a note if you want. Make sure to copy this port.
-1774200652121.png)
9 Head back to the File Manager
10 You will go to the Config Folder.
-1768160681458.png)
11 Open the folder called "voicechat"

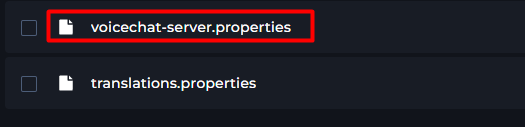
12 You will now open the file called "voicechat-server.properties".
13 Place the port you copied from the Network & Ports tab in the "port=" box.
)-1774200853444.png)
14 From there, you can restart your server and Voice Chat should be working properly.
Installing Voice Chat using Plugins
1 Login to the Kinetic Panel
2 Head to the File Manager.

3 Go to the Plugins Folder.
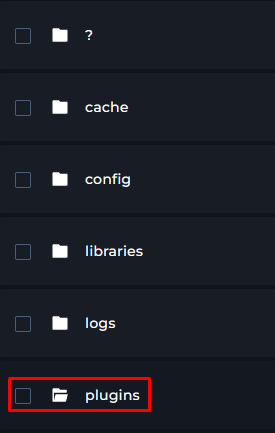
4 Put the Simple Voice Chat jar you downloaded into the plugins folder.
5 From there, you will start the server once so the correct Configuration file can generate for Simple Voice Chat. Once the server is fully online, power down the server.
6 Now, Head to the Network & Ports category on the Kinetic Panel
7 You will click on the Open Port Button.
8 You will now see opened port, you can give this a note if you want. Make sure to copy this port.
-1774200819758.png)
9 Head back to the File Manager
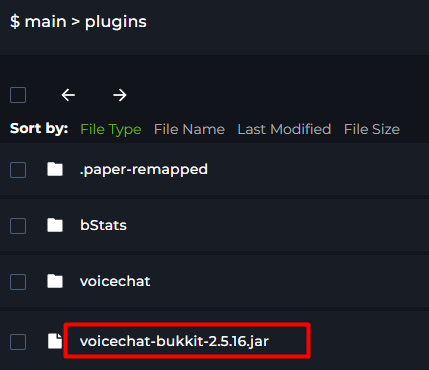
10 You will go to the Plugins Folder.
11 Open the folder called "voicechat"
12 You will now open the file called "voicechat-server.properties".
13 Place the port you copied from the Network & Ports tab in the "port=" box.
14 From there, you can restart your server and Voice Chat should be working properly.
-1771174363177.png)
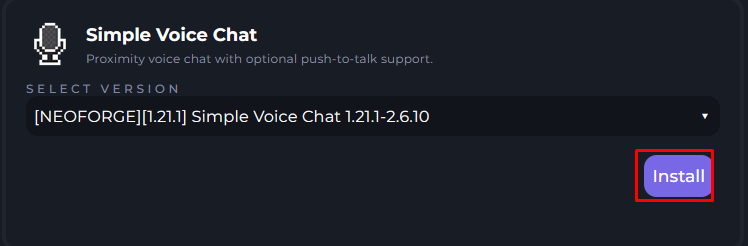
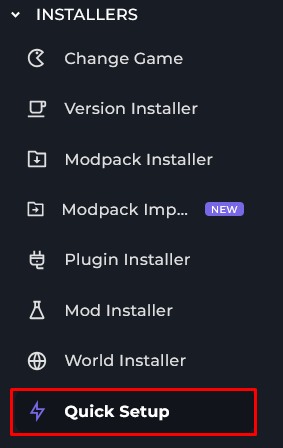
Using the Quick Setup
The quick Setup will automatically detect what version your Minecraft Server is running, making a seamless process to install Voice Chat.
Head to the Quick Setup on the Kinetic Panel.
Look for Simple Voice Chat
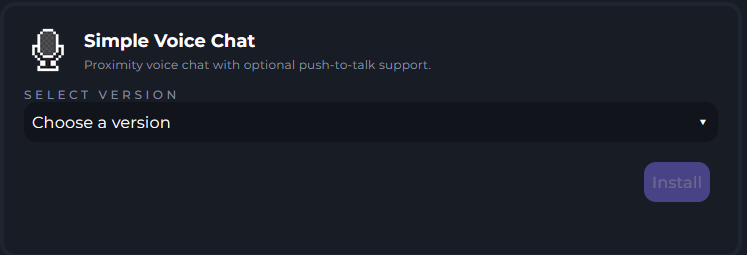
Click on the Select a Version Drop-Down menu box & select the desired version.
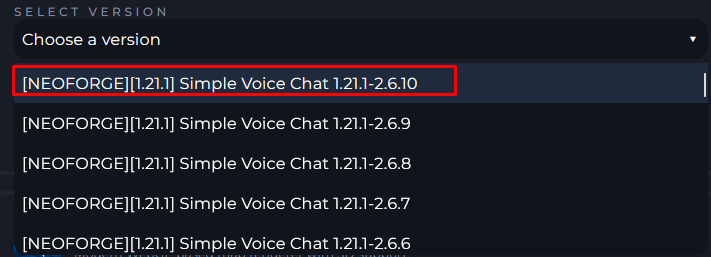
Once you have found the desired version click Install, this will run through the required steps for Simple Voice Chat to install on your server.