How to use the Firewall Manager
Last updated 02 Jan 2026
Need a game server?
Spin one up fast with our feature-rich panel and seriously low prices.
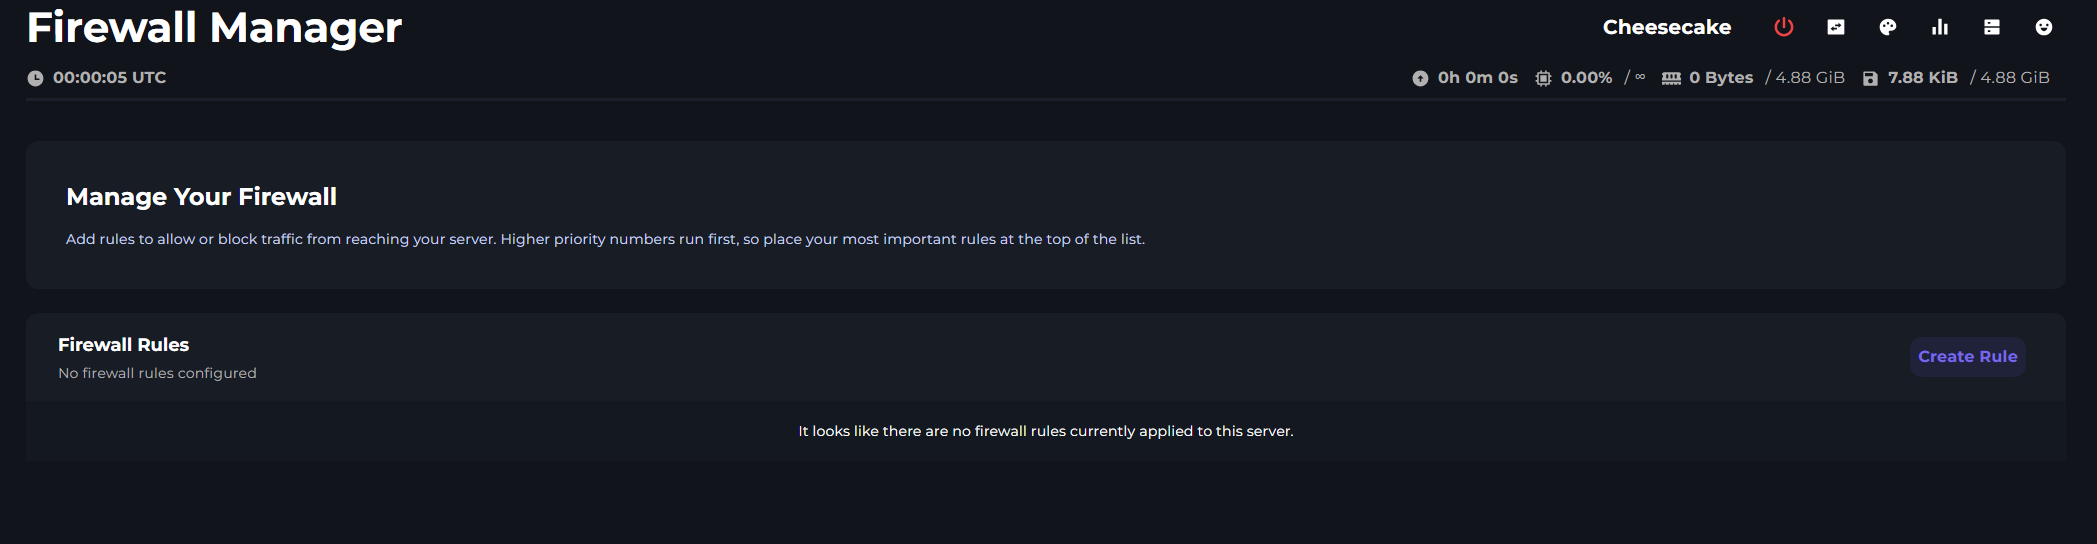
The Firewall Manager can be found under the Network tab in the server menu. Here IPs can be blocked from accessing your server. A blocked IP here won't even be able to ping your server; it's fully blocked from connecting or pinging the IP.
The Firewall manager also allows you to set access to set IPs. An example of where this might be useful is, say, a player stats web portal running on your server. You only want to set people to be able to see this. You can lock down connections, then allow your IP to connect.
You can also do this with servers. It is essential when locking down and setting up a proxy/bungee network.
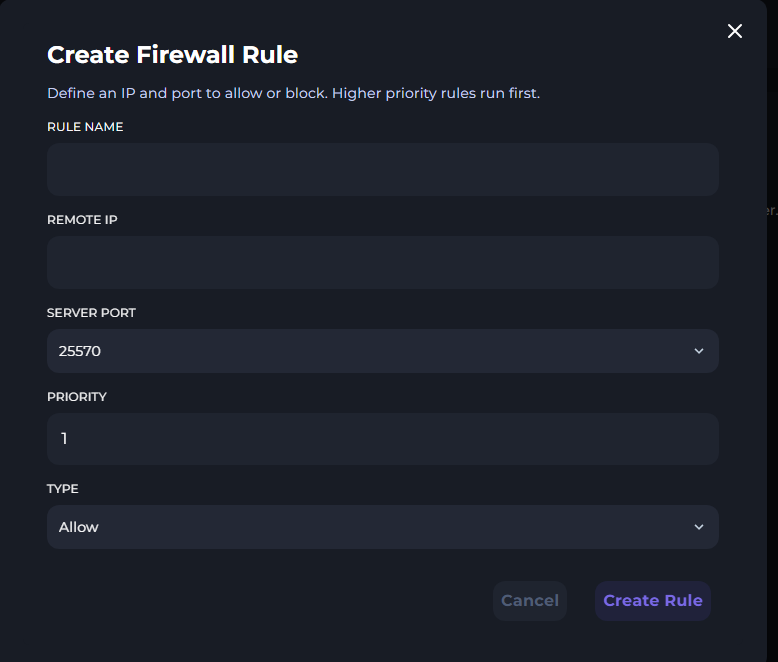
Priority
Before we just into blocking and allowing IPs, we'll first cover Priority. Priority is the order in which the firewall rules are applied. The higher the number, the higher the priority. So if you have a rule with a priority of 1, and a rule with a priority of 2, the rule with a priority of 1 will be applied first.
So if you want to block all connections, you would put this as a lower priority than your allow rules. This way the allow rules will be applied first, then the block all rule will be applied.
Blocking IP
To block an IP, enter the IP you wish to block into the remote IP box. Set the port to your main servers port, and change the type option to block.
Blocking All IPs
To block all IPs from connecting to your server. Put 0.0.0.0/0 into the remote IP box. Set the port to your main servers port, and change the type option to block.
Allowing IPs
To allow an IP to connect to your server, enter the IP you wish to allow into the remote IP box. Set the port to your main servers port, and change the type option to allow.
Example
If I wanted to block all IPs from connecting to my server, but allow my IP to connect. I would set the block all rule to a priority of say 2, and then allow rule to a priority of 1. This way the allow rule will be applied first, then the block all rule will be applied.