How to add Custom Vehicles to your FiveM Server
Last updated 07 Jun 2025
Adding Custom Vehicles to your FiveM Server will give your players a unique experience! This guide will show you how to add these vehicles!
Getting the Cars uploaded to your server.
1 Go to the Kinetic Panel and go to your FiveM server.
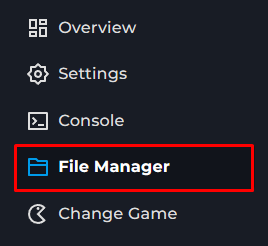
2 Head to the File Manager on the Kinetic Panel.

3 Now, Navigate through the following Directory txData > QBCoreFramework > Resources.

4 You should now see a variety of folders this directory, we'll be making a new one called [cars].

5 After this, you'll want to upload your Custom Vehicle models within this folder in a Zipped Archive Format.

6 Once the Zip is uploaded, you can Unarchive it, and you should now have your Car's folder with its content in a single folder.

Configuring the required files
Once you have all of your cars uploaded, you will need to configure some files on the Kinetic Panel and the txAdmin web control panel.
1 Head to the File Manager on the Kinetic Panel.

2 Open up the file called server.cfg

3 You will look for the category where it says "# These resources will start by default., within this put ensure [cars] in this box and save the file.

4 Now, start your server & head to the txAdmin control panel & login to your account.
5 Head to the CFG Editor

6 You will look for the category where it says "# These resources will start by default., within this put ensure [cars] in this box and save the file.

7 Now, restart your server on the Kinetic Panel.

After that, you should now everything you need to spawn your car in your FiveM Server.
Spawning the Custom Car.
1 Join your FiveM Server and open up the Chat Menu in game and run the command /txadmin.

2 From there, you will want to use the Arrow Keys and navigate to the Vehicle: Spawn option and press Enter.

3 After that, enter your Vehicles ID in the box and click Submit, then your custom Vehicle will spawn.
